Wizard Recommends
 100 % up to
2250zł +200 spins- Massive gaming platform
- Crypto-friendly
- Loyalty program

 120 % up to
1200zł +50 spins- Welcome bonus package
- Loyalty Program
- Slot tournaments featuring substantial cash prizes
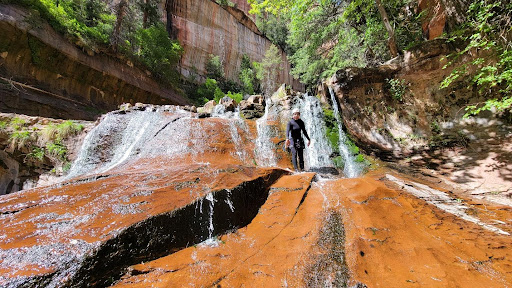
Zion Subway
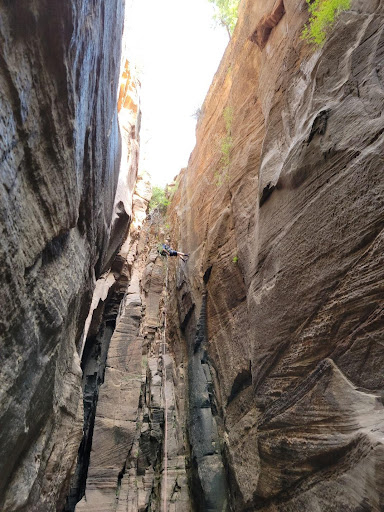
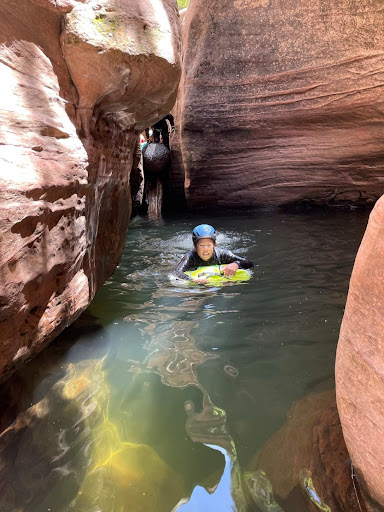
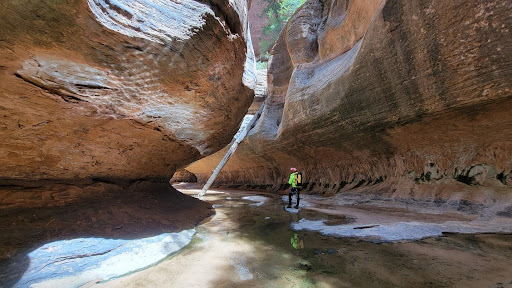
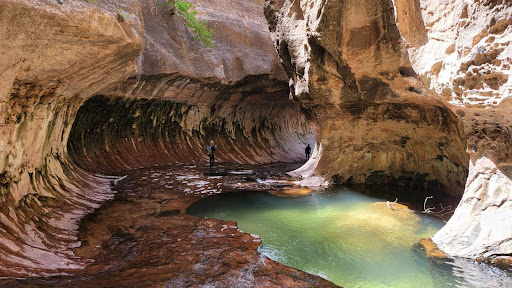
I'm excited to share that I've marked off the Zion Subway from my list of adventures this week. While the name might not ring a bell for everyone, the stunning visuals associated with it are widely recognized. Upscale casinos in Las Vegas frequently display photos showcasing striking locations in the Southwest, such as the Grand Canyon, and the Subway is often featured among them. Located in a lesser-explored area of Zion National Park, it's not an easy trek to get permits for this adventure, and the hike itself can be quite challenging. Many people mistakenly think it's the same as the Narrows, which attracts many more tourists. Having ample experience in hiking, backpacking, and canyoneering across the Southwest, I can confidently say that this trip ranks among the most incredible outdoor experiences I've ever enjoyed.
A friend of a friend arranged a trip for six people a while back and took care of securing the necessary permits. Unfortunately, one individual injured themselves and had to withdraw. Luckily, a mutual acquaintance suggested me as a substitute, and I gladly accepted the offer when the opportunity arose.
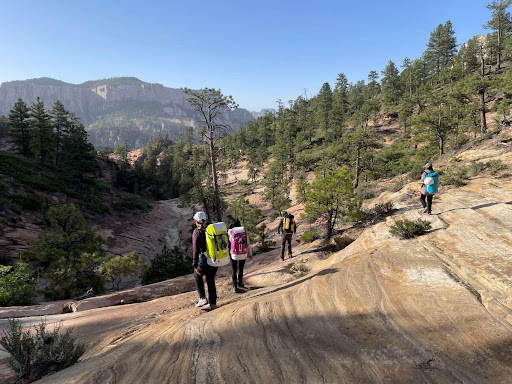
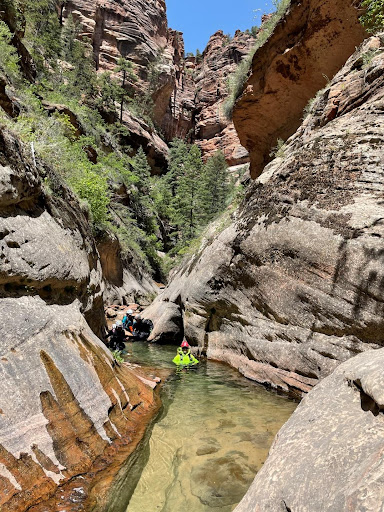
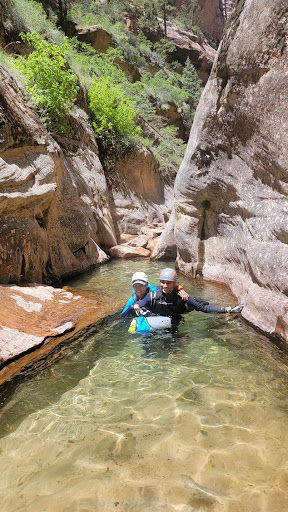
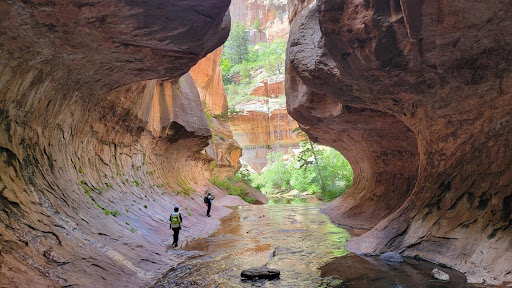
There are several methods to experience the Subway. One option involves a straightforward up-and-back hike starting from the Wildcat Canyon trailhead. Although this route is enjoyable, it doesn’t allow you to see the entire Subway. Personally, I recommend a more adventurous approach by taking a side canyon that leads into the Subway and then hiking out to the mentioned trailhead, although this does require arranging a car shuttle. Our group chose to descend into Russel Gulch, which flows into the Left Fork of North Creek, ultimately leading us through the Subway.
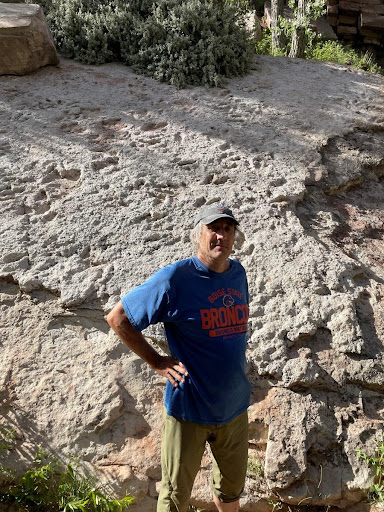
This journey is the perfect example of how imagery can often convey more than words. Nevertheless, I’ve gathered a few photos captured by our group of six. I attempted to keep the pictures organized, but with six photographers, it proved to be quite a challenge.
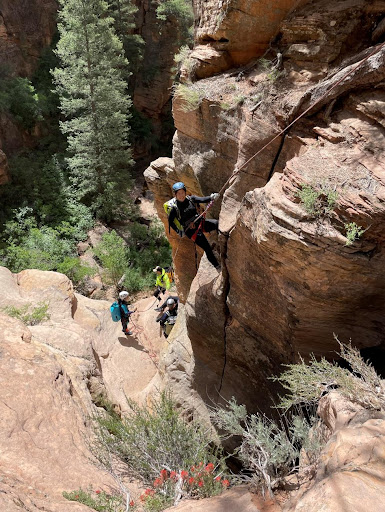
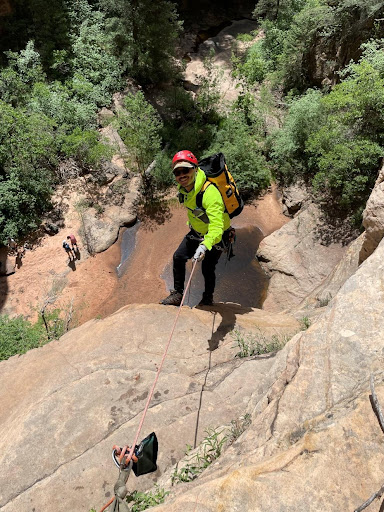
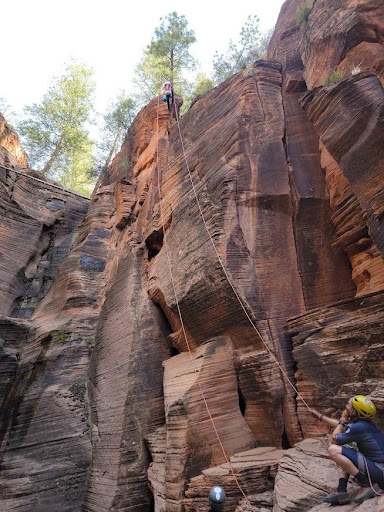
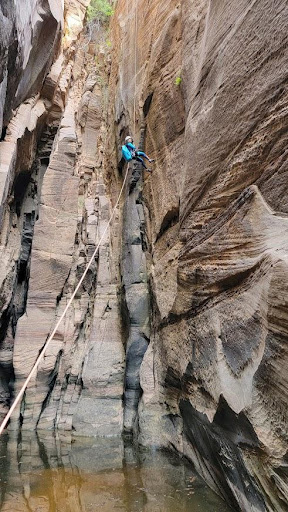
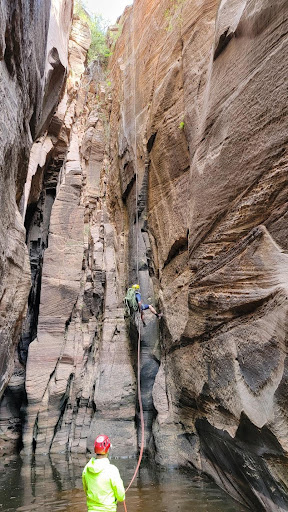
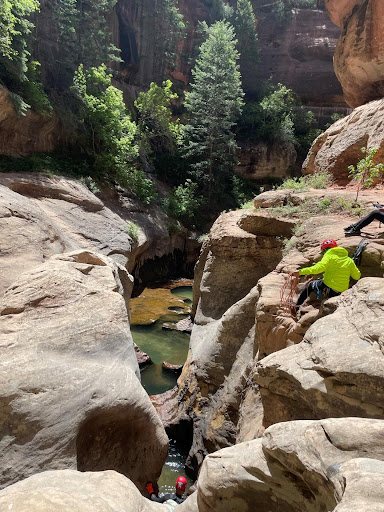
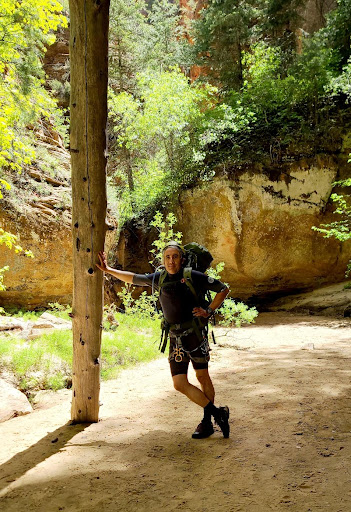
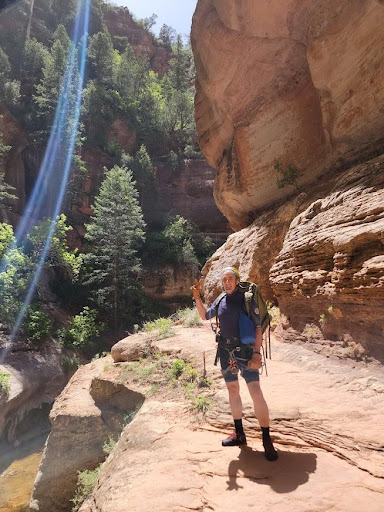
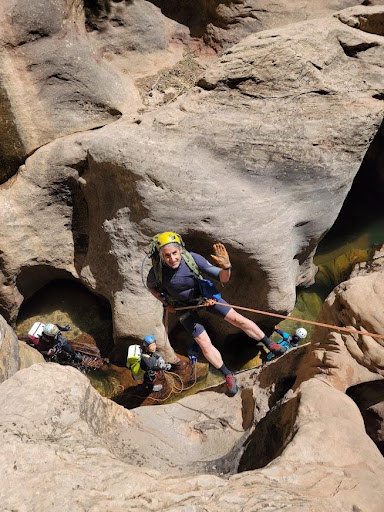
Tackling the Subway the way we did necessitated canyoneering skills, including rappelling. I would strongly advise against attempting this without previous experience. A leader who has navigated the route before, ideally on multiple occasions, is crucial; otherwise, finding your way to the first rappel, as well as exiting the canyon, can be quite convoluted and poorly marked.
Here are a few adjustments I would make for future trips.
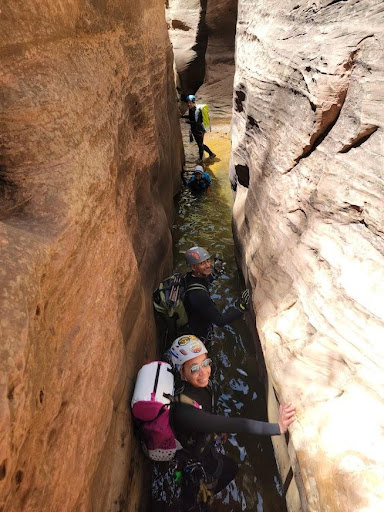
- Next time, I’d opt for a full-body wetsuit instead of the short one I had. We ventured out on May 20, and the water remained quite icy. The rest of the group sported long wetsuits, and I could tell they felt a bit sorry for me while I shivered in the chillier parts of the canyon.
- I packed too much water and ended up discarding a significant amount. Typically, in cooler conditions and with plenty of clothing on, you don't find yourself needing as much hydration. Your body’s water loss is largely influenced by the temperature and how much skin you're exposing to the air.
- I should have brought a spare battery. I used my smartphone to keep track of our hike and took numerous pictures and videos along the way. By the halfway point, the battery had dwindled to about 20%, forcing me to stop using the tracking app.
- Investing in quality dry bags is essential. They are designed to keep your belongings dry within your backpack. Unfortunately, one of mine, the sole one made by Sea to Summit, developed a leak, soaking all my spare clothes. It would have been fantastic to have dry clothes to change into after exiting the Subway, but due to the defective product, I was left with a pile of cold, wet garments. Next time, I plan to test these bags out in a swimming pool.
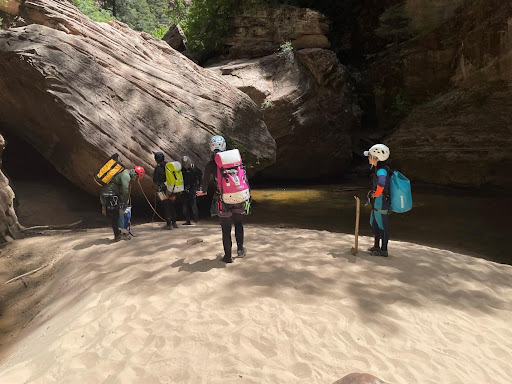
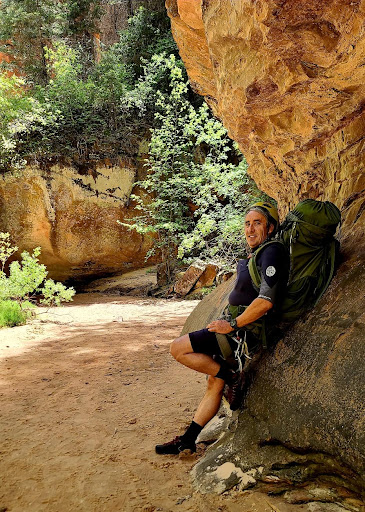
Before the trip, I had some concerns about whether I needed a specialized canyoneering bag instead of the backpack I chose to bring. The advantage of canyoneering bags is that they are made of plastic, which means they don’t soak up water like a fabric backpack would. However, they’re not as comfortable and typically lack multiple external pockets for easier access to smaller gear. I was the only one in my group without a canyoneering bag, and I have no regrets about that decision.
To conclude, I would like to emphasize that this trip was a resounding success! My teammates—Luis, Carlton, Patti, Teresa, and Mileth—did an incredible job, and I thoroughly enjoyed spending those days with them. I’m particularly grateful to Luis for obtaining the permits, leading the expedition, and for preparing an exceptional taco dinner the following day at our campsite.